BillTime.io is a managment tool designed for businesses that allows you and your colleagues to easily track your time as a team and to bill your company’s clients.
One of the biggest advantages from BillTime.io it’s that it offers a very simple platform that it’s easy to use and your employees/coleagues will easily adapt to this new way of tracking their time.
How to register
The registration it’s quite simple. You just need to go on the register page and either fill in your informations or just login via facebook, google, github or linkedin. Once you register you may need to verify your account via the email that you filled in, where you will receive a verification link.
First steps
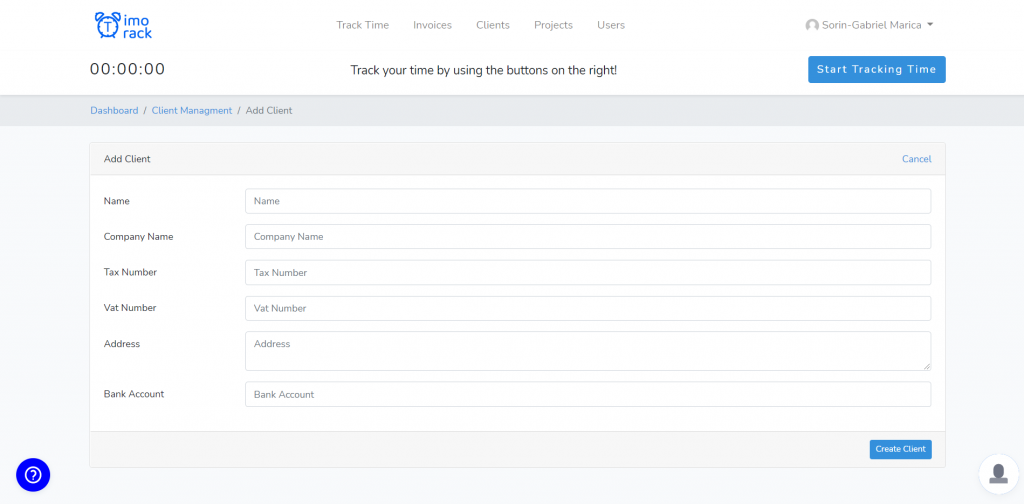
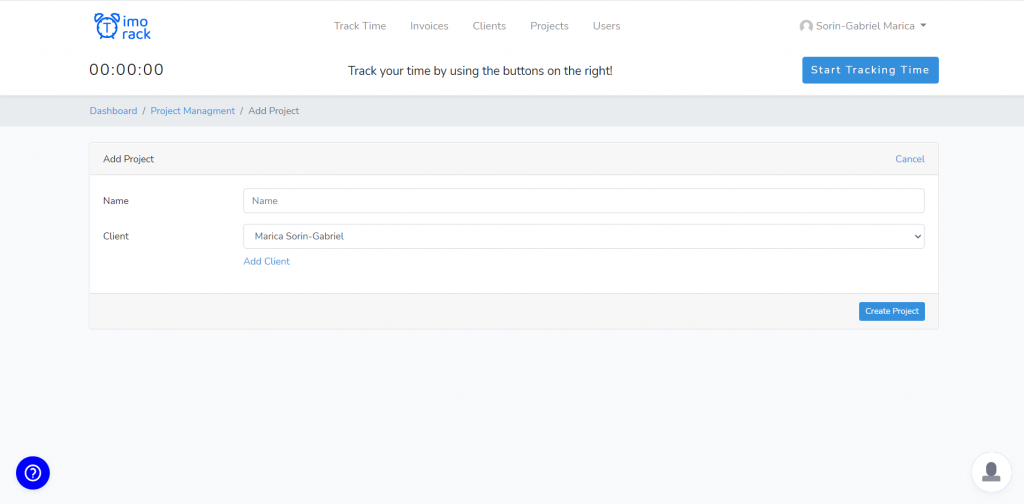
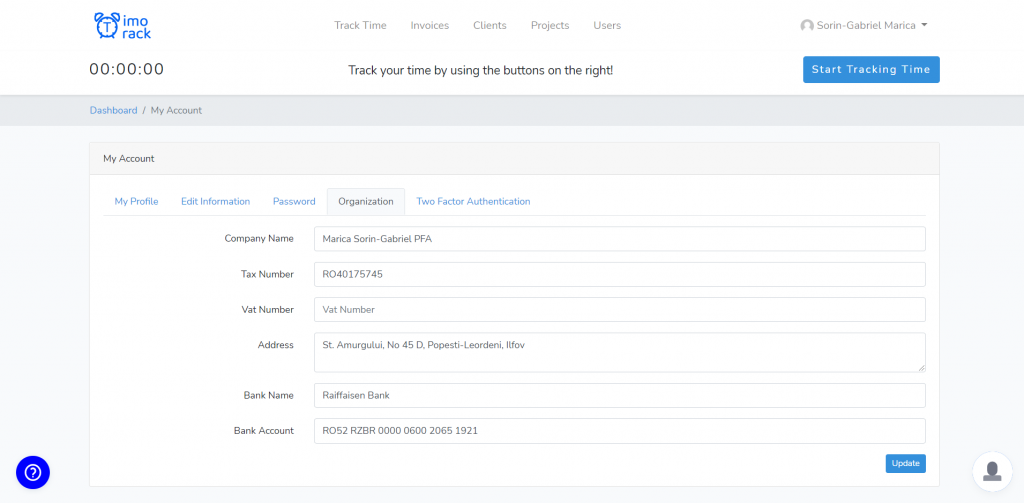
The first steps after you registered are to add a client, add a project and update your organization details. While the first 2 steps are mandatory, since without a client you cannot create a project and without a project you cannot track your time, the last step is optional as the only benefit it brings it’s a simpler flow in the invoice creation page.
After you finished the onboarding process, you may feel free to start tracking your time and billing your clients.
Tracking time
Our tool offers two ways of tracking time. You and your employees might choose to either automatically track your time via the button from the top of the page “Start Tracking Time” or you may prefer to add your time manually.
We recommend the first option as it’s requiring less work from you and your employees, it’s more accurate and easier to use.
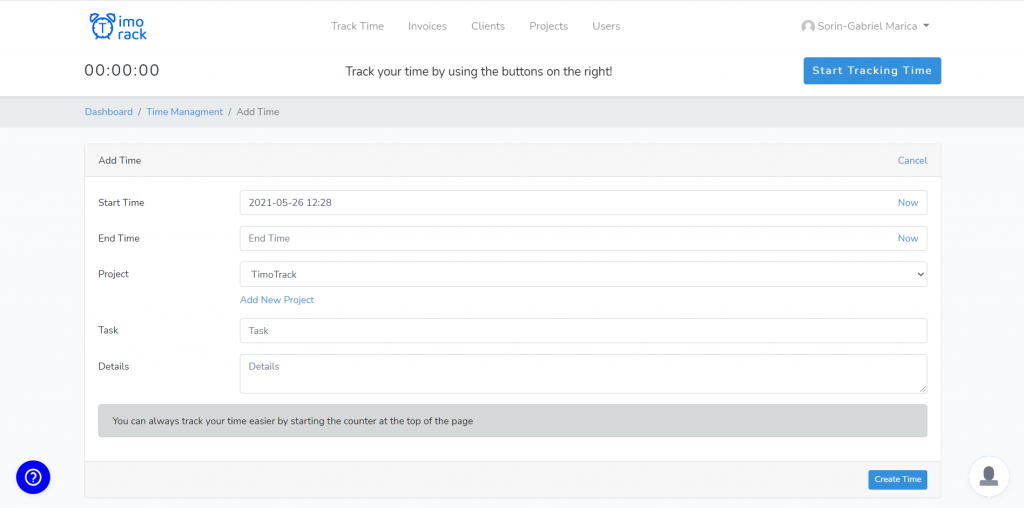
Once a time is added it can be edited or deleted by the organization owner, or by the person that added the time without any worries. The only rule is that one user cannot have times that overlap.
For example if someone adds a time from 25th may 2021 00:00 to 25th may 2021 01:00 and then attempts to add another one from 25th may 2021 00:30 to 25th may 2021 01:30, this will not be accepted and a error will be displayed.
At the same time, once you use the automatical way of tracking time, it’s a sure way to avoid these kind of cases. Also you don’t have to worry about losing your time if you close the window. Once you started tracking your time, the counter will run in the background even if you’re not on our website. It will stop only if a day passed without any action from the user, or if the user decides to cancel or save the time record.
Another feature from our time tracking tool is an option to export filtered times as csv or xls. This may help you in sending all of your billed hours to your client along with the task that you worked on and the description that you added for each time.
Invoicing
Another important component of our service is the invoicing component which allows you, and your team to easily bill your clients. When you’re adding a new client we ask from you multiple information about their business in order to keep track of your clients, but also to make the process of billing them easier.
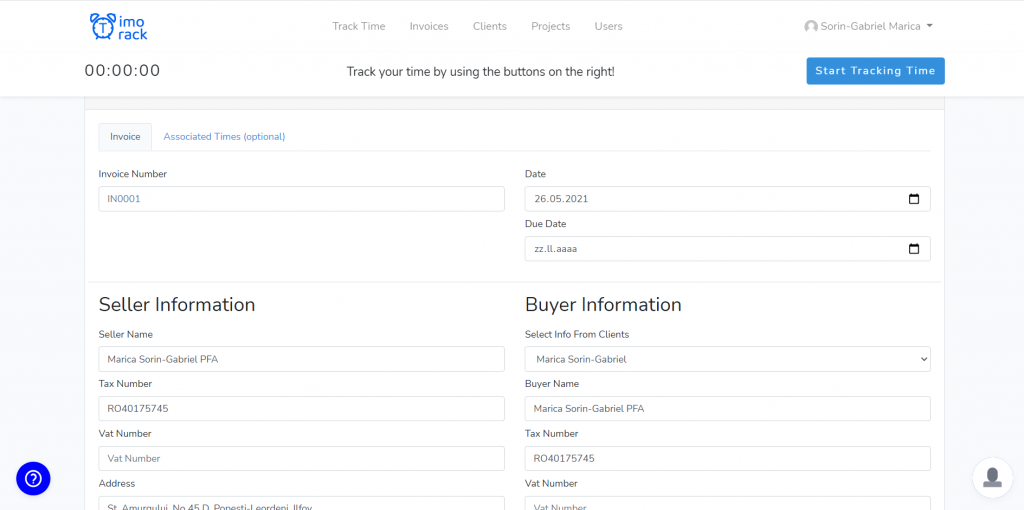
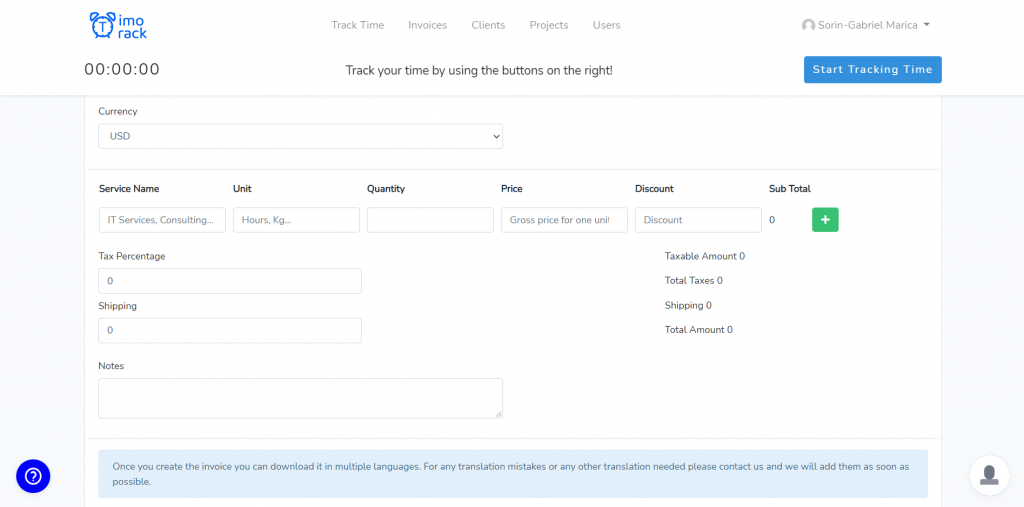
Our invoice creator is made in a way to be as dynamic and flexible as possible. This means that even though our main tool is a time tracker, you can create invoice of any sorts, not just ones where you bill your hours.
For example in the second photo from above, you may choose to write any units, price per unit, discounts and so on. The way you will create your invoices is up to you.
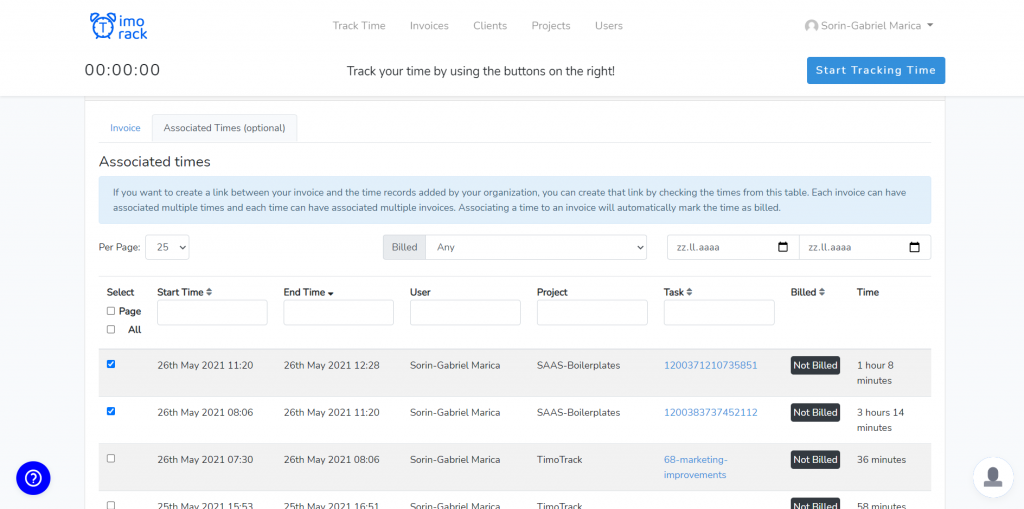
Also, optionally the invoice creator comes with an option to associate times. While you may choose to bill whatever you want, in the possible case of billing hours, we have a way to keep track of all the times you are billing, marking them as billed and associating them to the invoice.
Once you created the invoice, the invoice will show up in your invoices list, and you will be able to download it or mark it as paid, past_due or pending.
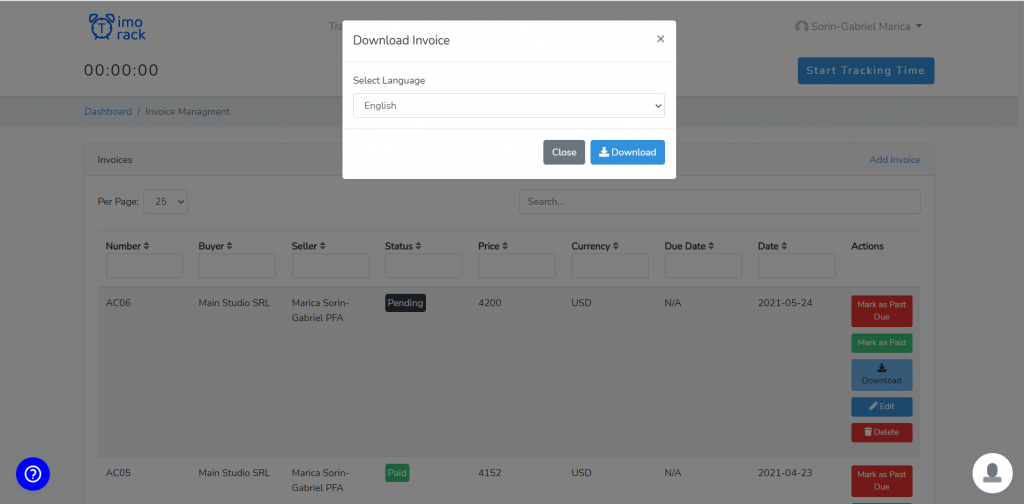
When downloading an invoice you also get to choose the language in which your invoice will be. At the moment billtime.io supports the following languages: English, Dutch, German, Spanish, French, Italian, Polish, Brazilian Portuguese and Romanian. If you don’t find your language in this list however, just contact us via the chat and we will add it in a really short time.
Users (Employees)
Last but not the least, our tool comes with a users section from where you may add your employees.
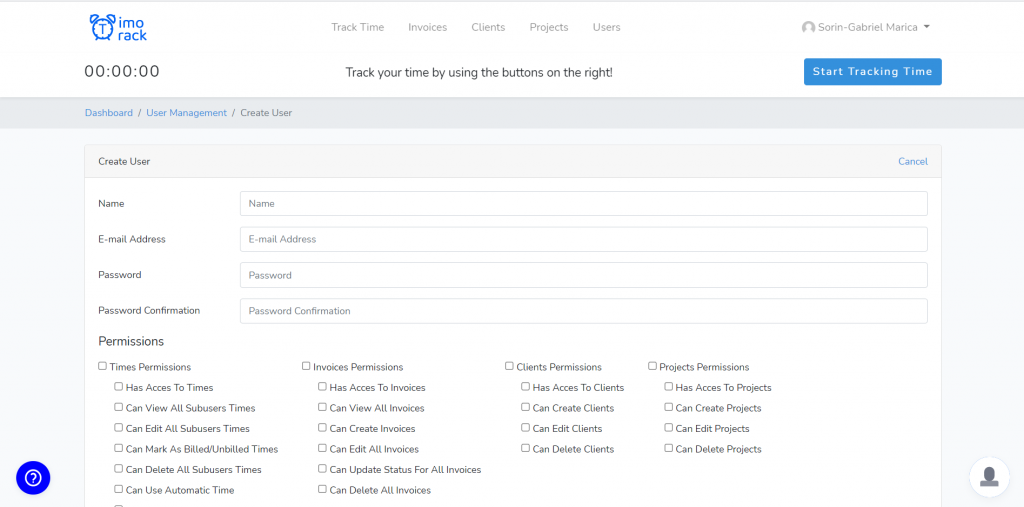
In order to add an user you will need their e-mail address, and also to set up a password for them. Once you added their account, they will receive a verification e-mail in order to activate their account, and they may change their password afterwards from our settings.
When creating an user you also get to decide what permissions the user may have. You may choose to restrict some areas from our tool for specific users according to your own will. This helps you give the right permissions to your project managers or simple employees.
After creating an user you may choose to delete them, permanently delete them or restore them at any time. Also you may change their permissions whenever you would like.
Closing words
These are the main features of our product so far. We are however continuously growing and we are open to your feedback. You should try our tool for free as for the first 3 days after registration you will receive all of the tool’s features without any restriction.
Once this 3 days period expires you may choose to either use our free plan, or upgrade to a paid plan. If you choose the second option you’ll still get a free trial of 30 days for your first month.